PAIN IS BETTER TO DESCRIBE WHEN IT IS FRESH ON THE BRAIN.
I’ve been posting pics on Instagram about our kitchen remodel progress, but I wanted to add more details, hints and tips. It never hurts to have advice from someone who has just gone through it. Pain is better to describe when it is fresh on the brain! So I’m going to break it down into four blog stories.
There’s always something that puts you over the edge to take on a remodel. For us, the refrigerator died, and that’s all we needed to pull the trigger! There’s really no good time to take on a project that will disrupt your life, but once you make the decision, you have to be all in. I was ready for a new project!

Because of this crazy passion my husband and I share for remodeling, we like to do it ourselves, meaning we act as our own contractor. We hire out our trades, manage the work and set the schedule. If you are not familiar with renovating or have never done it before, please hire a contractor- it’s not for the faint of heart.
CLEANING OUT THE KITCHEN.
You’ve got to empty out your space. We set up our temporary kitchen in the sunroom and dining room. Must have items- small frig, microwave, toaster and pantry items. You can see the dorm frig above that we lived out of from when our frig died until the end of remodel…it’s amazing how much you can fit in those suckers!

DO YOUR INVESTIGATIVE WORK.
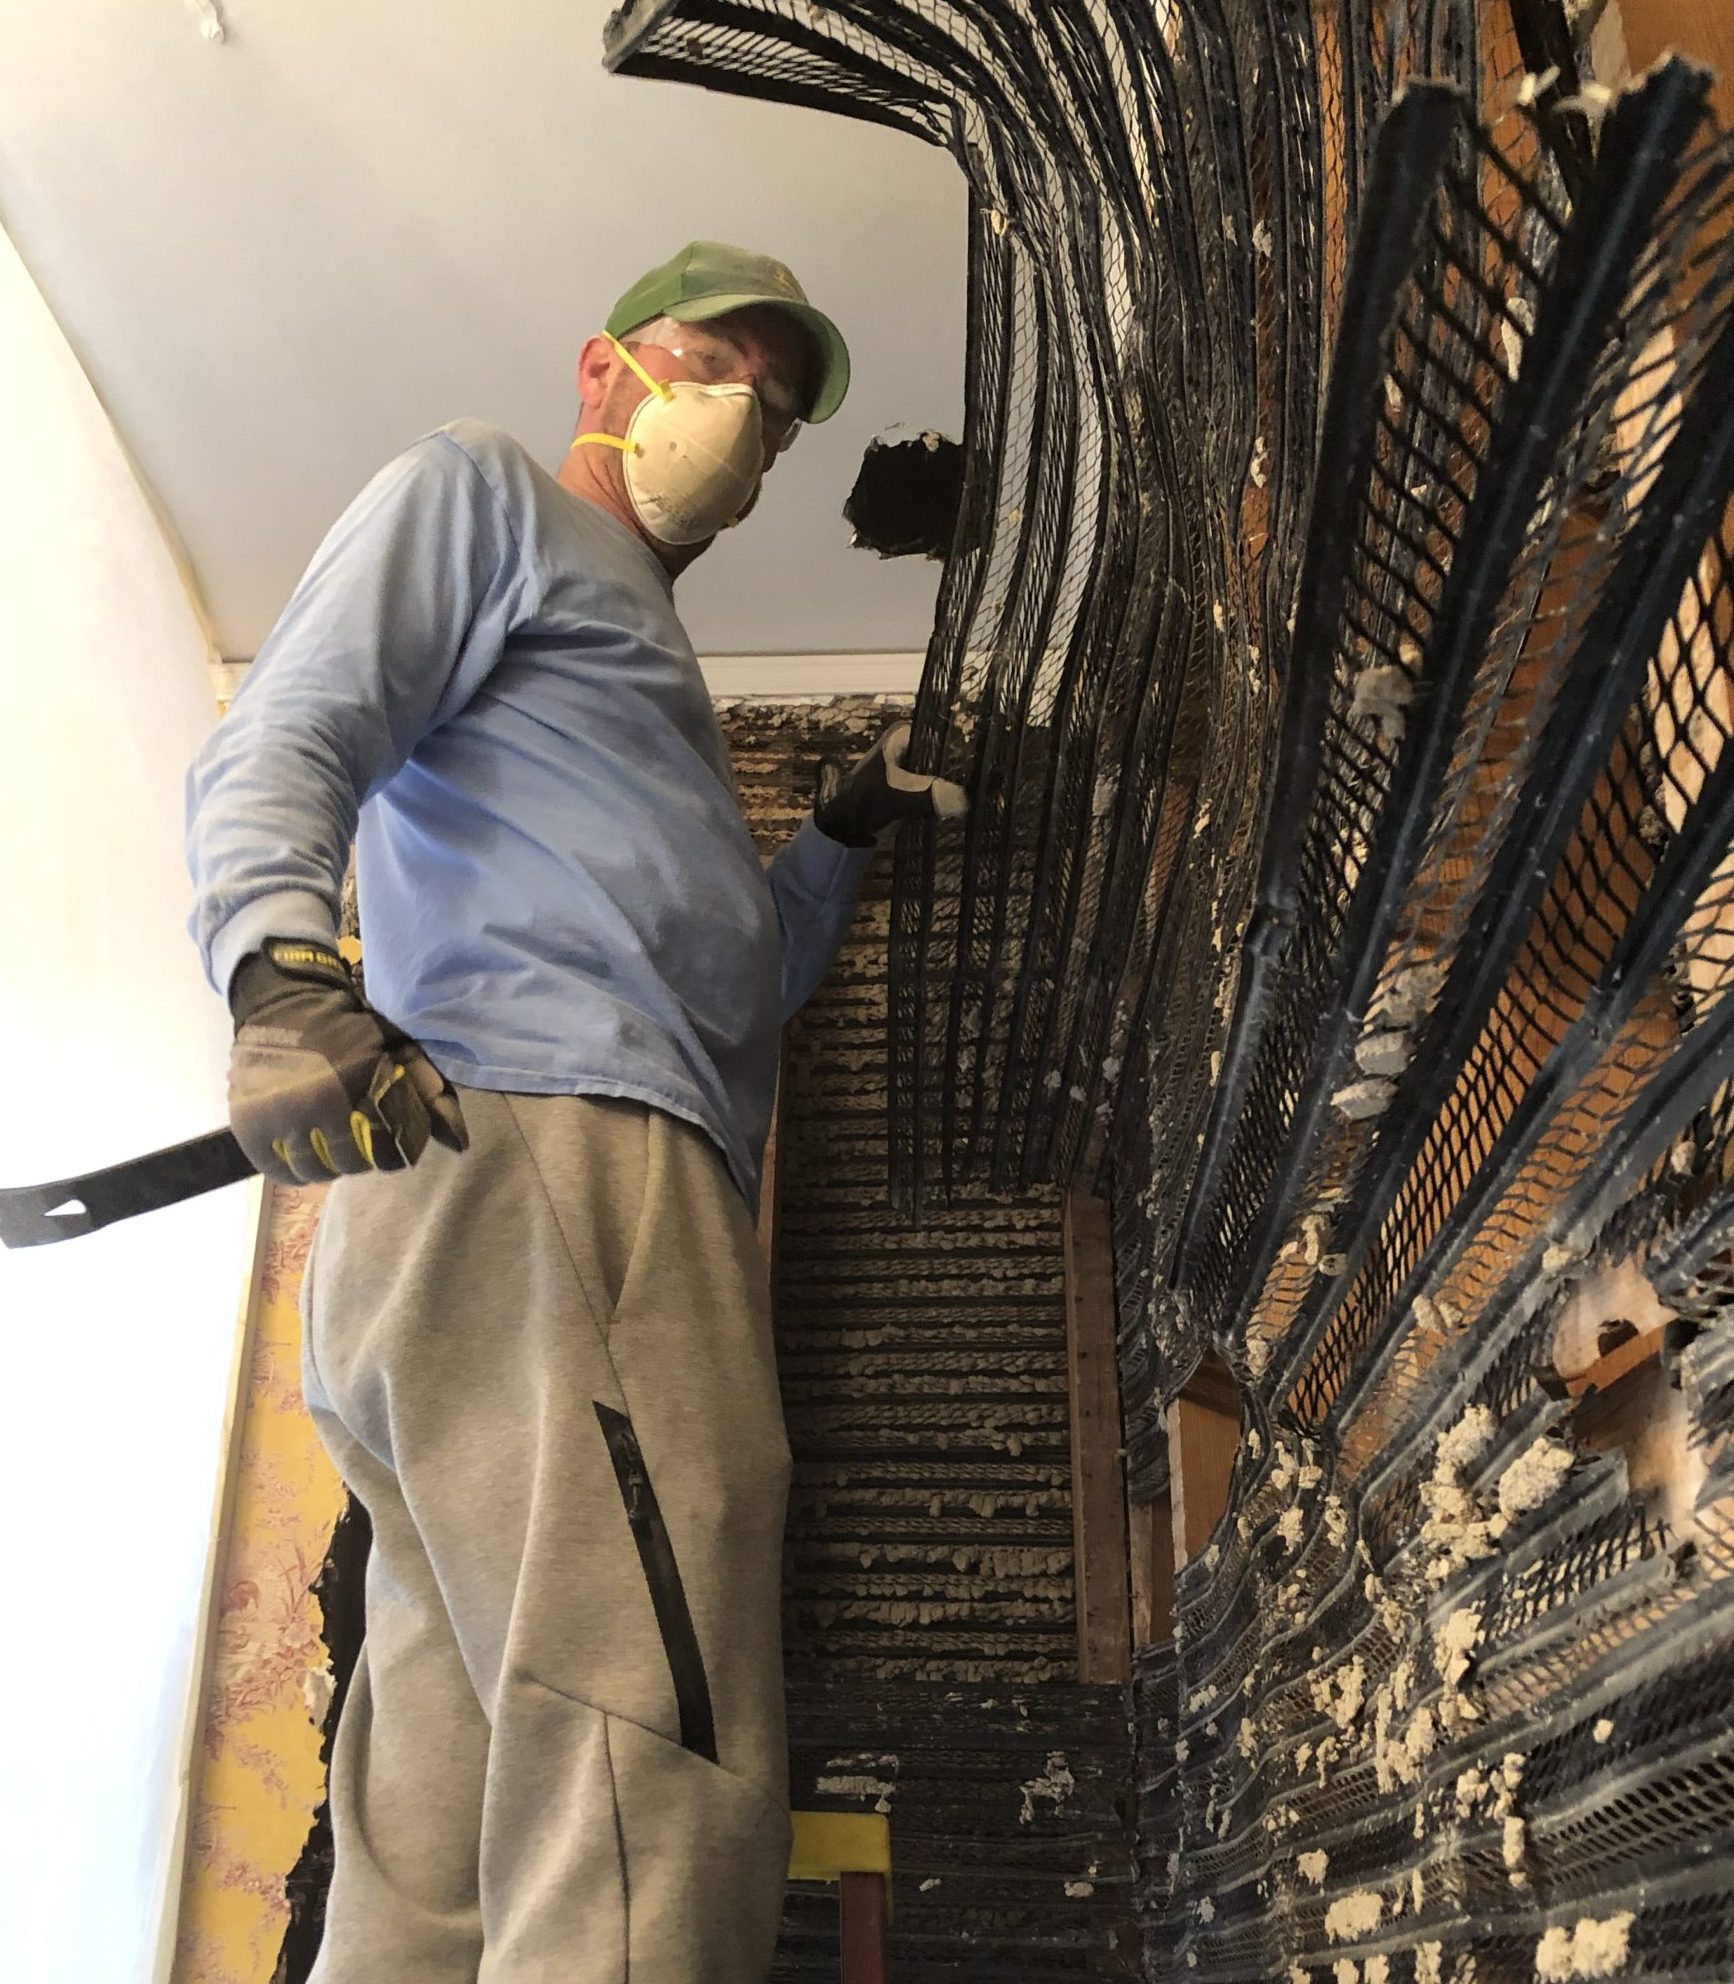
We were removing a wall, so we made a hole in the ceiling to see if it was structural. You don’t want to assume anything in a remodel. Well, our hole became the whole wall…why not when your making a mess anyway! When beginning to tear out, make sure to seal up the space as well as you can. Plaster dust is incredibly sneaky, so take the extra time to tape off your work space. (Note, we have metal lath in our house, most older homes in this area have wood lath).


DEMOLITION TIME.
Have at it! Do whatever you can to save money, but if you can’t do it all, hire someone to do the rest. It will be one of the lower costs of your renovation. Piece by piece we stripped both rooms down and then hired someone to take the plaster out. With metal lathe and 10 foot ceilings, it was more than we wanted to take on. My husband is such a trooper, and found a use for his big wrench!

For me, the rewarding part of demolition is discovering the different layers of updates and paint colors throughout the years, it’s like an archaeological dig! Linoleum flooring was popular when the house was built.

ASSESS THE STRUCTURAL NEEDS.
We decided to remove a wall between the breakfast room and kitchen to make the new kitchen larger. When removing a wall, or taking away/adding another element in a room, you want to make sure you don’t compromise the structural integrity of the space. We used a structural engineer to tell us what type of support was needed.


PROTECT ORIGINAL PIECES IN THE HOME.
Flying plaster can do some damage, so protect things you don’t want messed up. We used sheets of luan and plastic to keep french doors, buffets and floor safe. I’m not telling you what to do, but if there is an original piece in your home, find a way to keep it. Plan your design around it. Obviously, updates are needed in older homes, but you don’t have to lose the features that made you fall in love with it. Preserve the past and allow people to enjoy the craftsmanship of 1926 for another 100 years.

GET A PERMIT.
Please do not try to get around this. For a small amount of money and time, it will save you headaches in the future. If you don’t get a permit on additional square footage, when you list your property a broker cannot use it as square footage without the disclosure that it was unpermited. And, it can come back to bite you during an inspection if one of your subs took a shortcut and did not complete work to code. Just suck it up and do it.
Now it’s time for the fun part (or the headache), designing the kitchen and picking out the details!